I mainly just used leftovers and scrapes from other projects to put these together.


Now I just wanted them to stand up so that they would be easy for everyone to see. I basically copied the back of a really cheap photo frame. Like the ones you get at Universal studios when you pose as Captain Jack Sparrow and Elizabeth Swann for one of those character pictures {not that I would know anything about that}.


Then I cut the stand shape into the paper.

It should look somewhat like a B when you unfold it, with the bottom, right portion still attached.

Once I cut the outline, I just needed to fold the "B" down and see if it would stand.

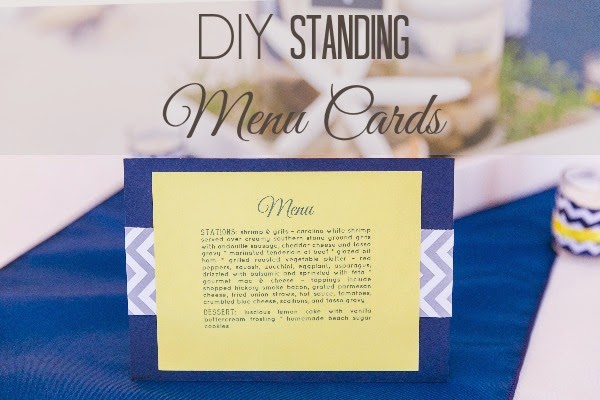
I glued the stand onto one of our menu cards, gluing only one of the sides. The side without the extra slit {with the "B" still attached} should be glued down.


Here is an outline of the stand for your printing pleasure. It may need to be adjusted based on the size of the item you are trying to stand up. Just fold it in half and cut along the inside of the dotted line. The thicker the paper, the better the stand. I tried it with regular printer paper and it worked out but would fall down much easier than the cardstock scraps I used.

Money saved: $70, if using the same suite as our invitations and RSVP cards, for 25.
Time: An hour and a half.
Thanks for visiting!

No comments:
Post a Comment
Thank you so much for commenting! All comments are submitted for moderation. Check back soon to view your comment!